Upload Form 16 
File your ITR in just One Click
 Easy & Quick
 Authorized by ITD
  Claim early refunds
It often happens that while filing income tax returns, we omit things or commit some mistakes. These mistake(s) make your return “defective,” and you’re issued a notice of defective return u/s 139(9). Section 139(9) of the Income Tax Act, 1961, states that when a return is found defective, the A.O. gives you a period of 15 days to correct the mistake. The return can be considered defective for one or many reasons, as stated below. In this article, we will discuss the various reasons why you might receive a defective return notice and how to respond to a defective return notice under section 139(9).
Didn’t show your crypto earnings in ITR? CBDT’s tracking it—update your return before a notice lands. Update your Tax return with Experts
When any important information is missing or reported wrongly on the return, it is known as a defective return. In any of the above cases, the income tax department issues a defective notice u/s 139(9) to the taxpayers, intimating them about the same and asking them to correct the inaccuracies present in the return.
You are required to make the necessary corrections in the return within 15 days of receiving the notice. If you fail to correct the ITR on time, it might have certain consequences in the future.
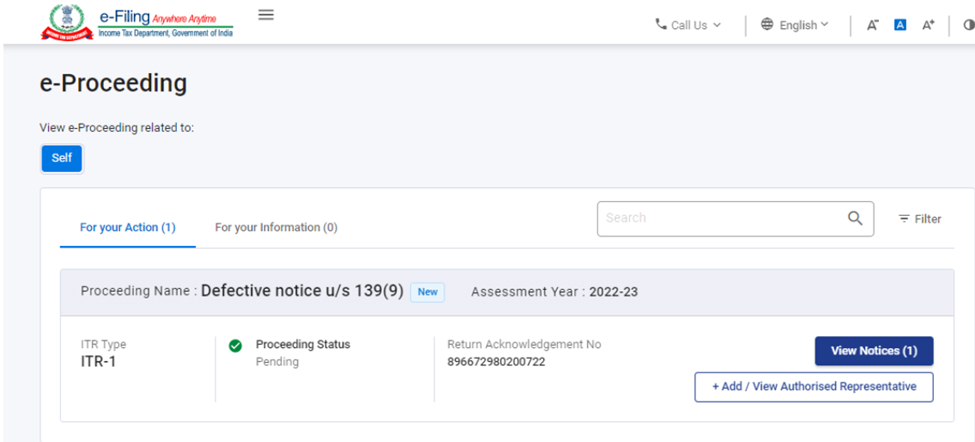
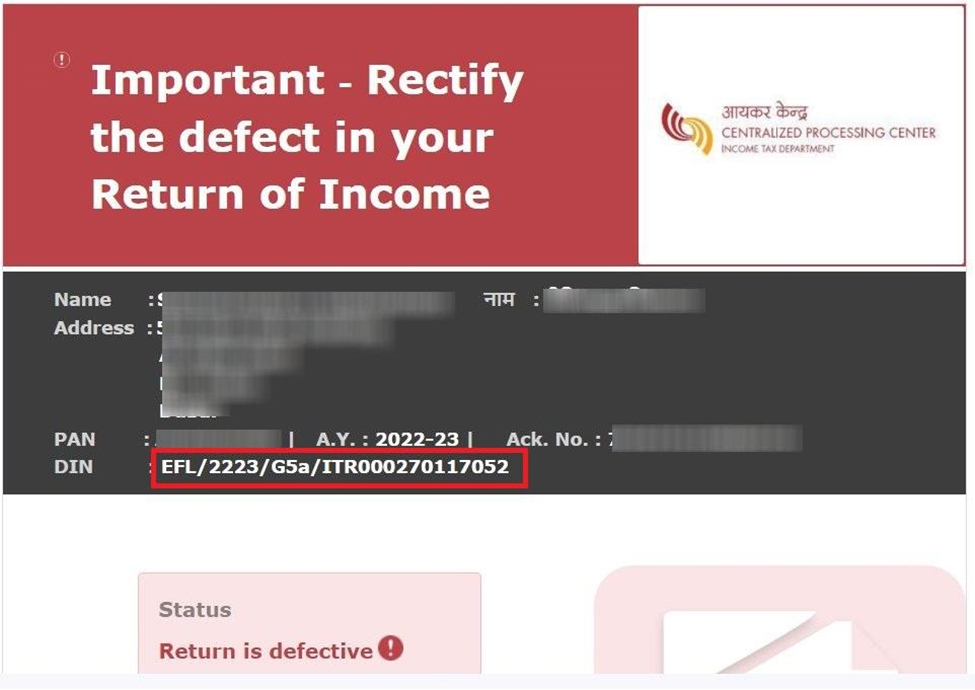
The defective return notice u/s 139(9) is issued via email to your registered email ID. You can also access the notice on the income tax e-filing portal.
Have you received a defective return notice? File a revised ITR now to resolve it.
Assesses can receive a defective return notice for various reasons. Some of the major reasons for a defective return notice are listed below -
Need to fill the annexure, statements, and columns in the income tax return. It must be duly filled wherever required. For example, while claiming deduction u/s 80G, the details in its schedule need to be filled or correctly filled.
Tax, together with interest, if any, is paid before filing the return, and all the details relating to it are not filled in. For example, the BSR code, Date of challan, and challan serial number should be correctly filled in.
The tax actually paid does not match with the tax payable in the income tax return, or taxes are not paid in full.
While filing ITR 4, if total presumptive income is shown as less than 8% or 6% of gross turnover or receipts, as the case may be, then in that case, ITR 3 should have been filed. The Gross receipts are not mentioned in the Profit & Loss A/c, Or the Gross receipt or income u/s 44AD is shown as more than Rs. 2 Crore in ITR 4.
If you have filed your return u/s 44ADA with a gross receipt of more than 50 Lakhs without a Balance sheet and Profit & Loss, then a notice will be received for filing ITR-3 with audited B/s and P&L Statement.
In budget 2023, this limit for presumptive taxation has been increased. For 44AD it is increased to 3 Crores and for 44ADA it is increased to 75 lakhs. This increase in limit is subject to the condition that 95% of receipts must be through online sales.
You’re required to maintain regular books of account such as Balance Sheets and Profit and Loss statements, but they have not been filled in the return while filing it.
The tax deducted has been claimed as a refund, but no income details are provided in return.
When the books of accounts have been audited, but a copy of the audit report and audited financial statements have yet to be filled in the return while filing it.
If the entity is required to conduct a cost audit but fails to provide detailed information of the same.
Name mismatch between PAN and Income Tax Return.
Once you’ve received income tax notice u/s 139(9), you must correct your return by revising it within 15 days from receipt by the Income Tax Department. You can also apply for an extension by writing an application to the Assessing Officer (A.O.) requesting an extension of the deadline for filing a revised return. Practically, it is seen that even if a taxpayer rectifies the defect after the expiry of fifteen days. Still, before the assessment is made, the Assessing Officer may condone the delay and treat the return as valid.
However, if the response is not filed within 15 days, you can demand an additional time extension to complete the revisions. If you are not granted the additional time for filing your response then, the original return filed is treated as an invalid return.
If you fail to file a response to a defective return notice u/s 139(9) or revise your ITR within the specified time frame, your defective return will be treated as a non-filed or invalid return. This means the Income Tax Department will consider it as if you’ve not filed a return for the year. Consequently, your refund will also not be processed by the Income Tax Department, if any.
If your original ITR becomes invalid, you can file a belated return along with a penalty fee to avoid further consequences. File a belated return now!
You will receive notice u/s 139(9) from the income tax department on the email ID entered while filing your ITR. Usually, these notices are received from CPC, and the subject line is 'Communication u/s 139(9) for PAN AWZXXXXXXX for the A.Y.2023-24'. The notice is attached to the email and protected with a password. The password to open the notice is PAN in lower case and the date of birth in the format DD/MM/YYYY.
You can respond to an income tax notice by directly visiting the income tax department’s website and logging in using your credentials. Here’s how you can respond to income tax notices -


If you receive a defective notice, you will get 15 days of time from the date of receiving the notice or as the time limit specified in the notice to rectify the defect in the return filed by you.
Earlier, it was possible to withdraw your response submitted to the defective notice under section 139(9). But this functionality is no longer available. Hence, you cannot withdraw the response made; instead, you can update or view it.
One should understand that receiving a tax notice should not necessarily be a cause for panic or worry. Instead, you must view it as a chance to amend mistakes made in your original income tax return. Under Section 139(5) of the Income Tax (IT) Act, taxpayers are entitled to revise their IT returns. This provision allows taxpayers to rectify any unintentional errors or omissions in their IT returns, even after receiving a tax notice u/s 139 9 of the Income Tax Act. The revision can be made prior to the expiry of one year from the end of the relevant assessment year or before the completion of the assessment year, whichever comes earlier. This flexibility provides taxpayers with the opportunity to correct discrepancies and ensure accuracy in their tax filings.
You can file a revised ITR using any of the below-mentioned methods through Tax2win -
DIY (Self-filing) - If you have a little bit of tax knowledge and are comfortable with taxes, you can simply use Tax2win’s DIY ITR filing software. It is an AI-integrated software that automatically selects the applicable ITR form.
If you are wondering how to file a revised ITR with Tax2win, here are some simple steps you need to follow -


You can also file a revised ITR directly through the Income Tax Portal.
To file a revised ITR with Tax2win, click here.
If you are someone who finds taxes complicated and don’t know how to file an ITR, you can simply book an online CA from Tax2win, who will not only help you file your ITR accurately but can also help you maximize your refund and help you with responding to notices. All you need to do is follow these simple steps -


Received a tax notice from the Income Tax Department? Don’t worry—Tax2win’s got your back! Here's how we make it stress-free:
Don’t ignore that notice—get it resolved with ease! Connect Today
